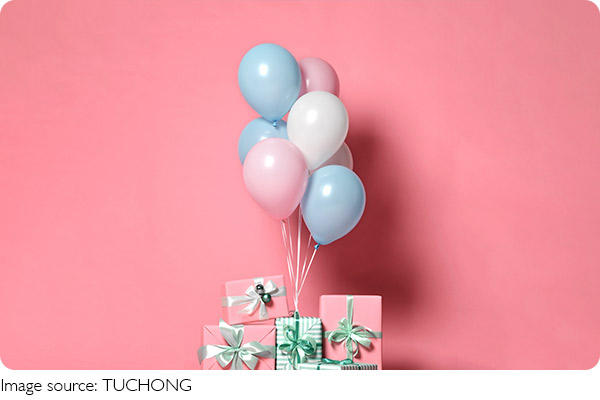
Wrap Like Expert

Caleb Ryan
| 26-04-2025

Hey Lykkers! We all know that feeling of staring at a gift, thinking, “How do I make this look amazing?” Well, fret no more! Whether it’s a birthday, holiday, or just a random act of kindness, wrapping a gift doesn’t have to be a chore—it can actually be fun and super creative!
Let’s dive in and turn those ordinary presents into masterpieces.
1. Gather Your Supplies (The Secret to Success)
First things first, grab all your supplies before you start. The last thing you want is to get halfway through wrapping and realize you’re out of tape!
What you need:
- Gift Wrap: Choose paper that speaks to the occasion. Whether it’s festive, sleek, or even custom-printed, it’s your canvas!
- Scissors: Sharp scissors make cutting so much easier (and less frustrating).
- Tape: Go for double-sided tape if you want a seamless look. It’s a game-changer.
- Ribbons or Twine: A little flair goes a long way.
- Gift Tags: Make it personal with a heartfelt message.
2. Measure Your Paper Like a Pro (No More Wasting Paper!)
The key to a clean wrap is measurement. Don’t just wing it! Here’s how you do it:
1. Place the gift in the center of your wrapping paper. Make sure you’ve got enough paper to cover the sides of the box with at least 2-3 inches of overlap on each side.
2. Cut the paper so it wraps around your gift without too much excess. Pro Tip: A clean cut is the key to crisp edges.
3. Master the Art of the Sides (Tight and Tidy)
The sides are where the magic happens! To get perfectly wrapped sides, here’s the secret:
1. Fold one side of the paper over the gift and secure it with tape. Keep the paper tight and smooth.
2. Bring the other side up and align it perfectly with the first side. Tape down the edge.
3. Bonus Trick: Use double-sided tape along the seam for an invisible, flawless finish.
4. Tuck and Fold the Ends (Sharp Corners, No Wrinkling)
This is where you can shine! Tucking in the ends might seem tricky, but trust me, it’s all about making those corners sharp and clean.
1. Push the paper on each side of the box to form triangles at the ends.
2. Fold the triangles toward the center of the box, neatly tucking the edges in.
3. Press flat and tape down each side. Pro Tip: Use the edge of a ruler or your fingernail to press the corners for a crisp, sharp look.
5. Add Some Extra Style (Because Why Not?)
Now, it’s time to get creative! Gift wrapping doesn’t have to be basic. It’s your chance to show personality.
- Ribbons or Twine: Wrap it around the middle of the box and tie a bow (or go for a more rustic vibe with twine).
- Fresh Touches: A sprig of rosemary, eucalyptus, or a small ornament can make your gift look like it came straight from a fancy boutique. You can even add a mini pinecone or a tiny pine tree for that extra “wow” factor!
6. Gift Tag Time (Make It Personal)
The cherry on top! A thoughtful gift tag ties everything together.
1. Write a personal message, or use a pre-made tag for simplicity.
2. Tie the tag onto the ribbon or twine, or use a little string to attach it. If you want a little extra creativity, make a custom tag using kraft paper, twine, or fabric scraps for a boho touch.
Pro Tip: Handwritten notes always hit different, don’t you think? Throw in a short, heartfelt note, and your gift will mean even more!
7. The Finishing Touches (Perfection is in the Details)
Before you step back and admire your work, take a moment to check for any loose ends (literally!). Tighten any bows, adjust the tag, and double-check for any tape that might be visible. Pro Tip: If you notice any imperfections, add a little embellishment, like a glittery sticker or a ribbon to hide it.
Bonus: Eco-Friendly Wrap Ideas!
If you want to get even greener, try these eco-friendly options:
- Fabric Wraps: Use a cute scarf, tea towel, or fabric scrap as a reusable wrap. It’s sustainable and stylish!
- Newspaper or Old Maps: Get creative by using newspaper, old maps, or comic strips as wrapping paper. They give a vintage vibe and are easy on the planet.
It’s All About the Love!
At the end of the day, it’s not just about how your gift looks—it’s about the love and thoughtfulness that goes into it. The wrapping is just the cherry on top of a gift that’s sure to make someone smile. So get creative, add your personal flair, and have fun with the process!
Gift wrap without box | Gift wrapping ideas
Video By "Nayya DIY"